03. Example lesson
Progress
%
- Lesson details
This example lesson is to give you a clear idea on what to expect from a CAVE course lesson. You can also follow the Assignment and submit a piece of work to Dailies to test your Shotgun account is up and running.


Introduction
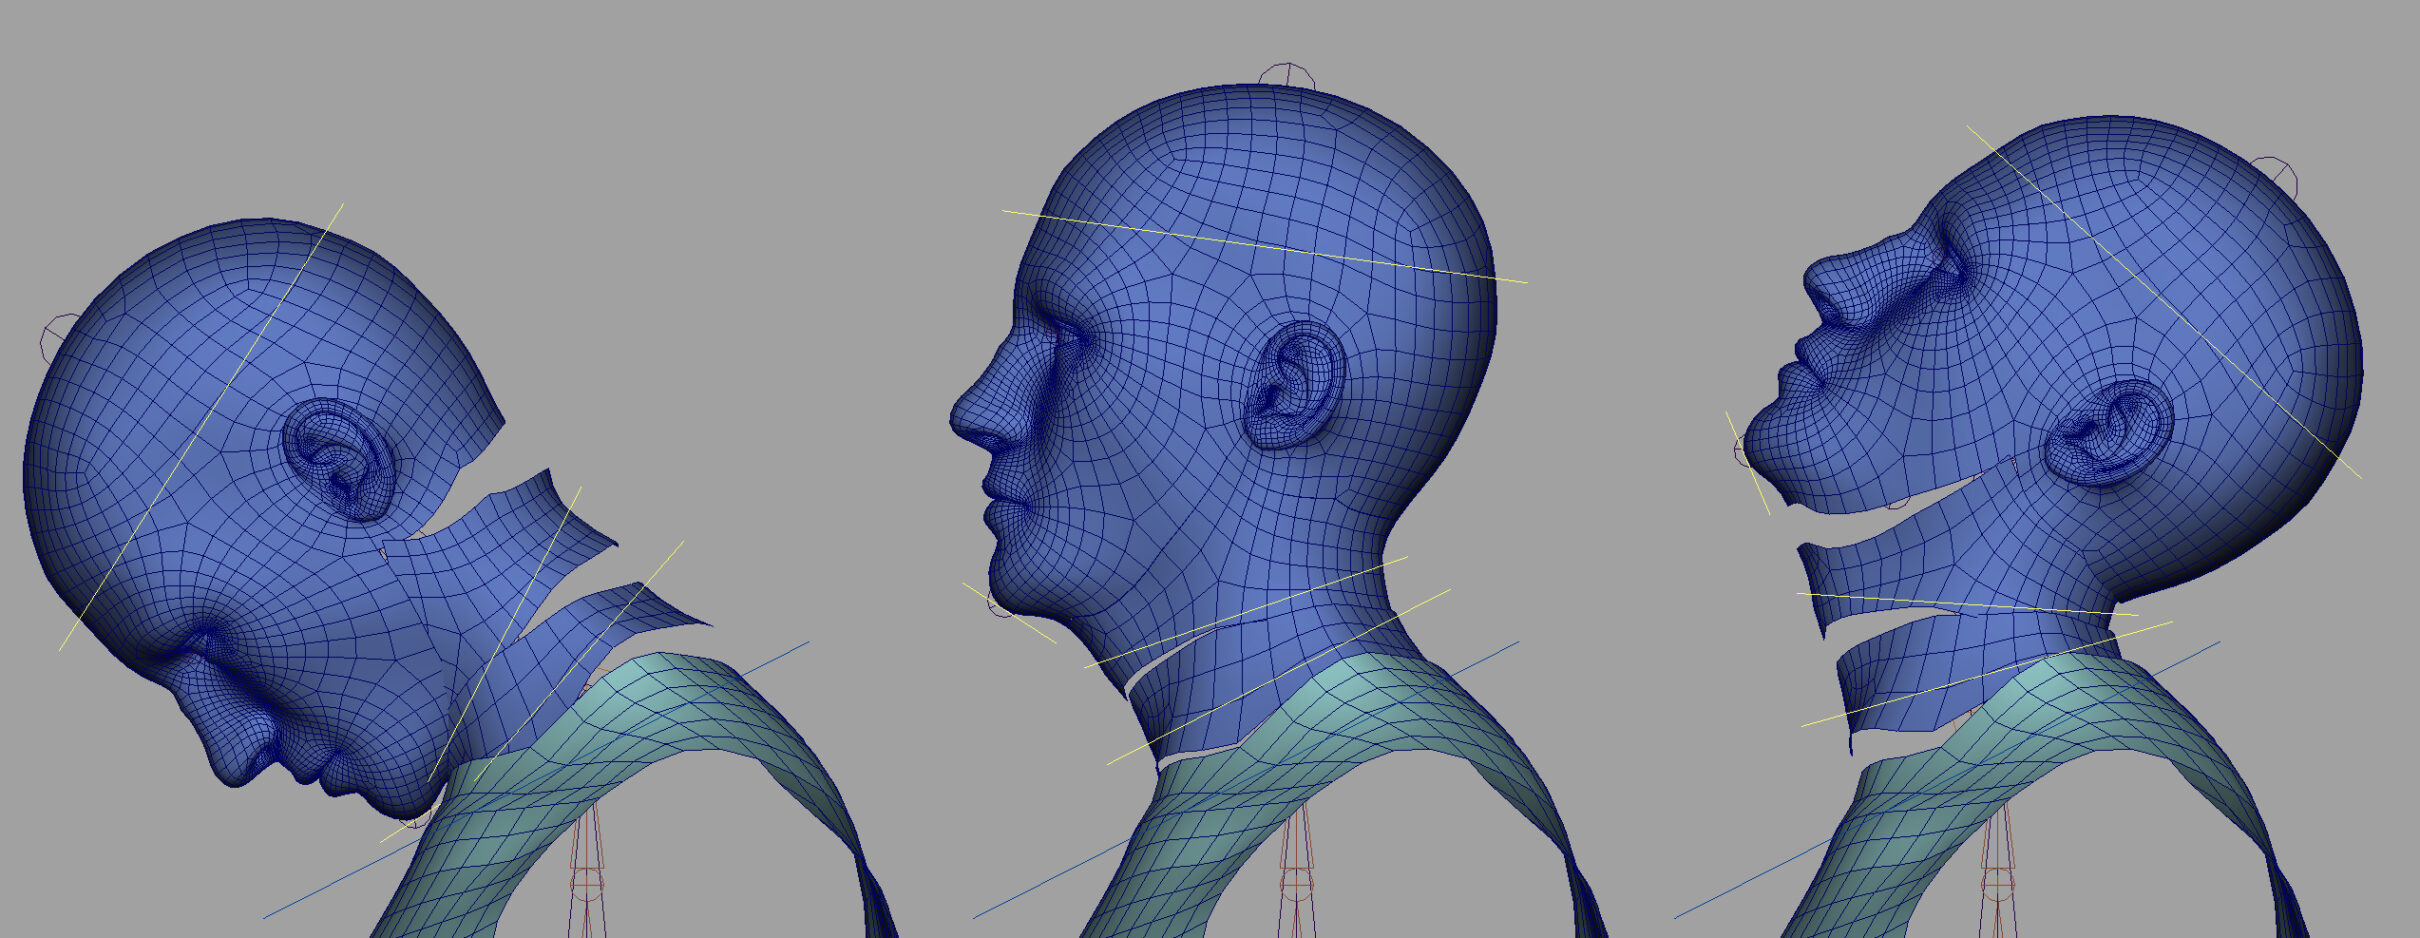
Following on from the torso, this time we will create the rig for the neck and the head. The cervical region of a real spine (the neck bones), are made up 7 vertebrae, and like we did with the lumbar and thoracic regions, we will simplify this in CG to make it more manageable for the animator. I like to give the animator two controls for the neck: one at the base of the neck and one between the base and the atlas bone, which is where the spine meets the cranium. This usually allows for enough flexibility, but again, feel free to experiment; nothing is set in stone here, so if you want more or even less control, then make the required changes.
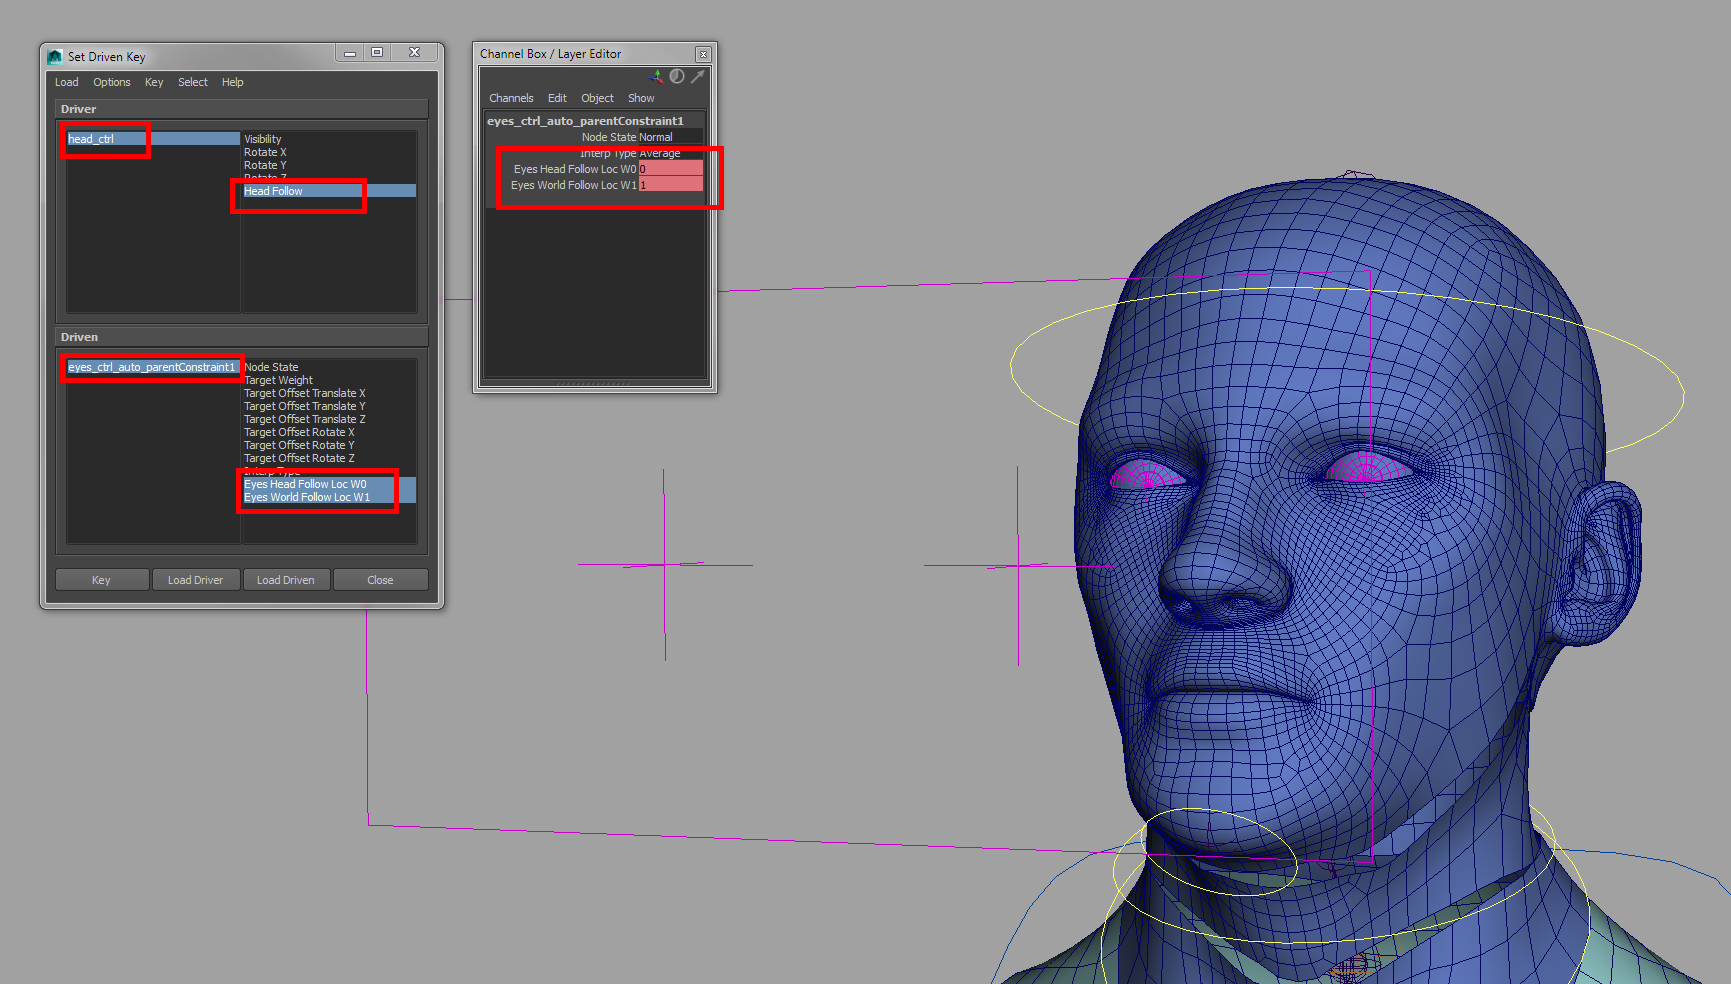
Moving on from the neck, we will add the head, jaw and eye joints and controls. The head and jaw, like the neck, will be FK based but we will also add some space-switching flexibility into the rig. Space-switching allows the animator to decide which part of the body part a particular region should follow. For example, should the head orient with the neck, the torso or none at all? By adding space-switching into the rig, we can create some very interesting and sometimes creepy results. When we add this feature to the eyes, you’ll see what I mean!
Before we crack on, just a quick note that I forgot to mention last time. Currently we are setting rotate X to drive flexion /extension for all the joints. This will cause the length of the joints to be determined by the translate Y attribute, not the translate X. This is no problem but I thought I would just make you aware.
So, let’s pop some joints into place.
001. Lesson example overview
A run through of what to expect from a CAVE lesson including launching the live feedback sessions, the lesson videos, resources and assignments.
002. Introduction to rigging the neck and head
In the step, we’ll introduce you to the setup we’ll be creating for the neck and the head rig.
003. Calamari geometry
To allow us to test out our rig, we’ll look at creating some calamari geometry.
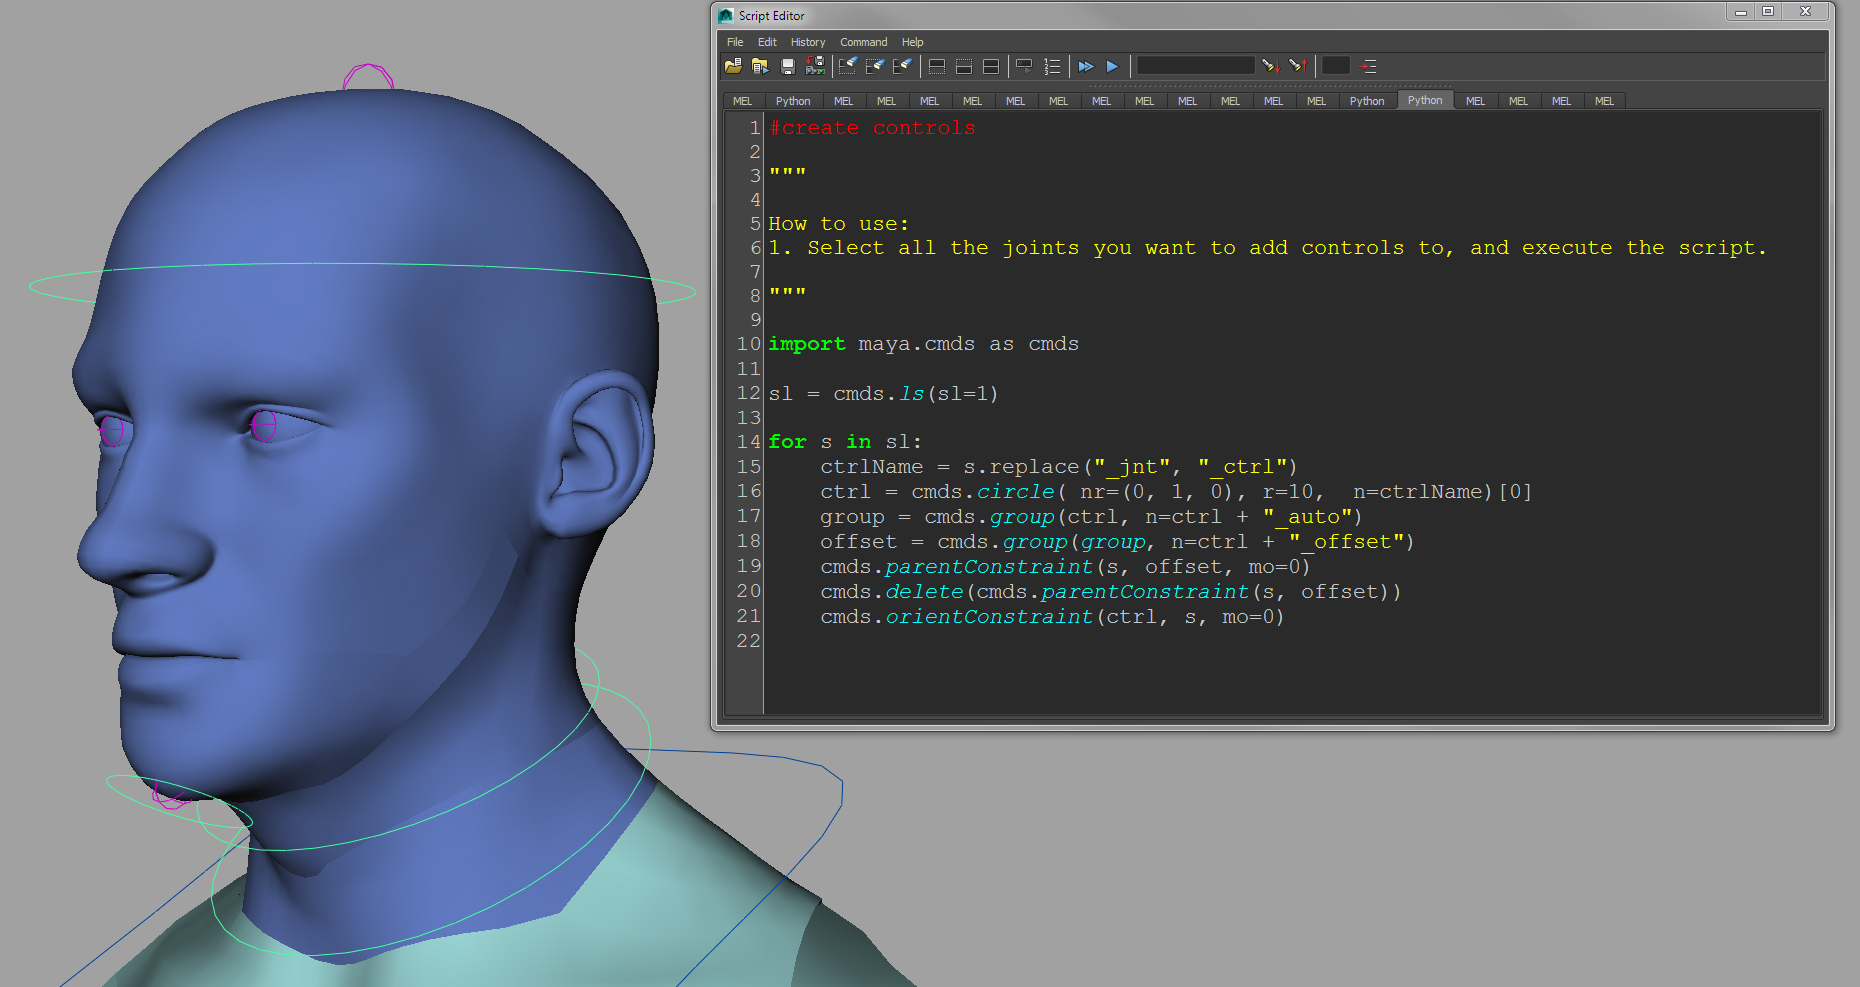
004. Head controls
Here we will create our controls for the head rig.
005. Setting up the eyes
Moving on to teh eyes, we’ll start by using aim constraints to hook our joints up to out controls.
006. Eye constraints
With the eye controls in place, lets look at creating an additional layer of control to lock them on to objects or points in space.
007. Head constraints
This step will focus on creating multiple follow controls for the hear. For example, do we want the head to follow the neck, or the torso. This will give the animator an additional layer of control to create more believable performances.
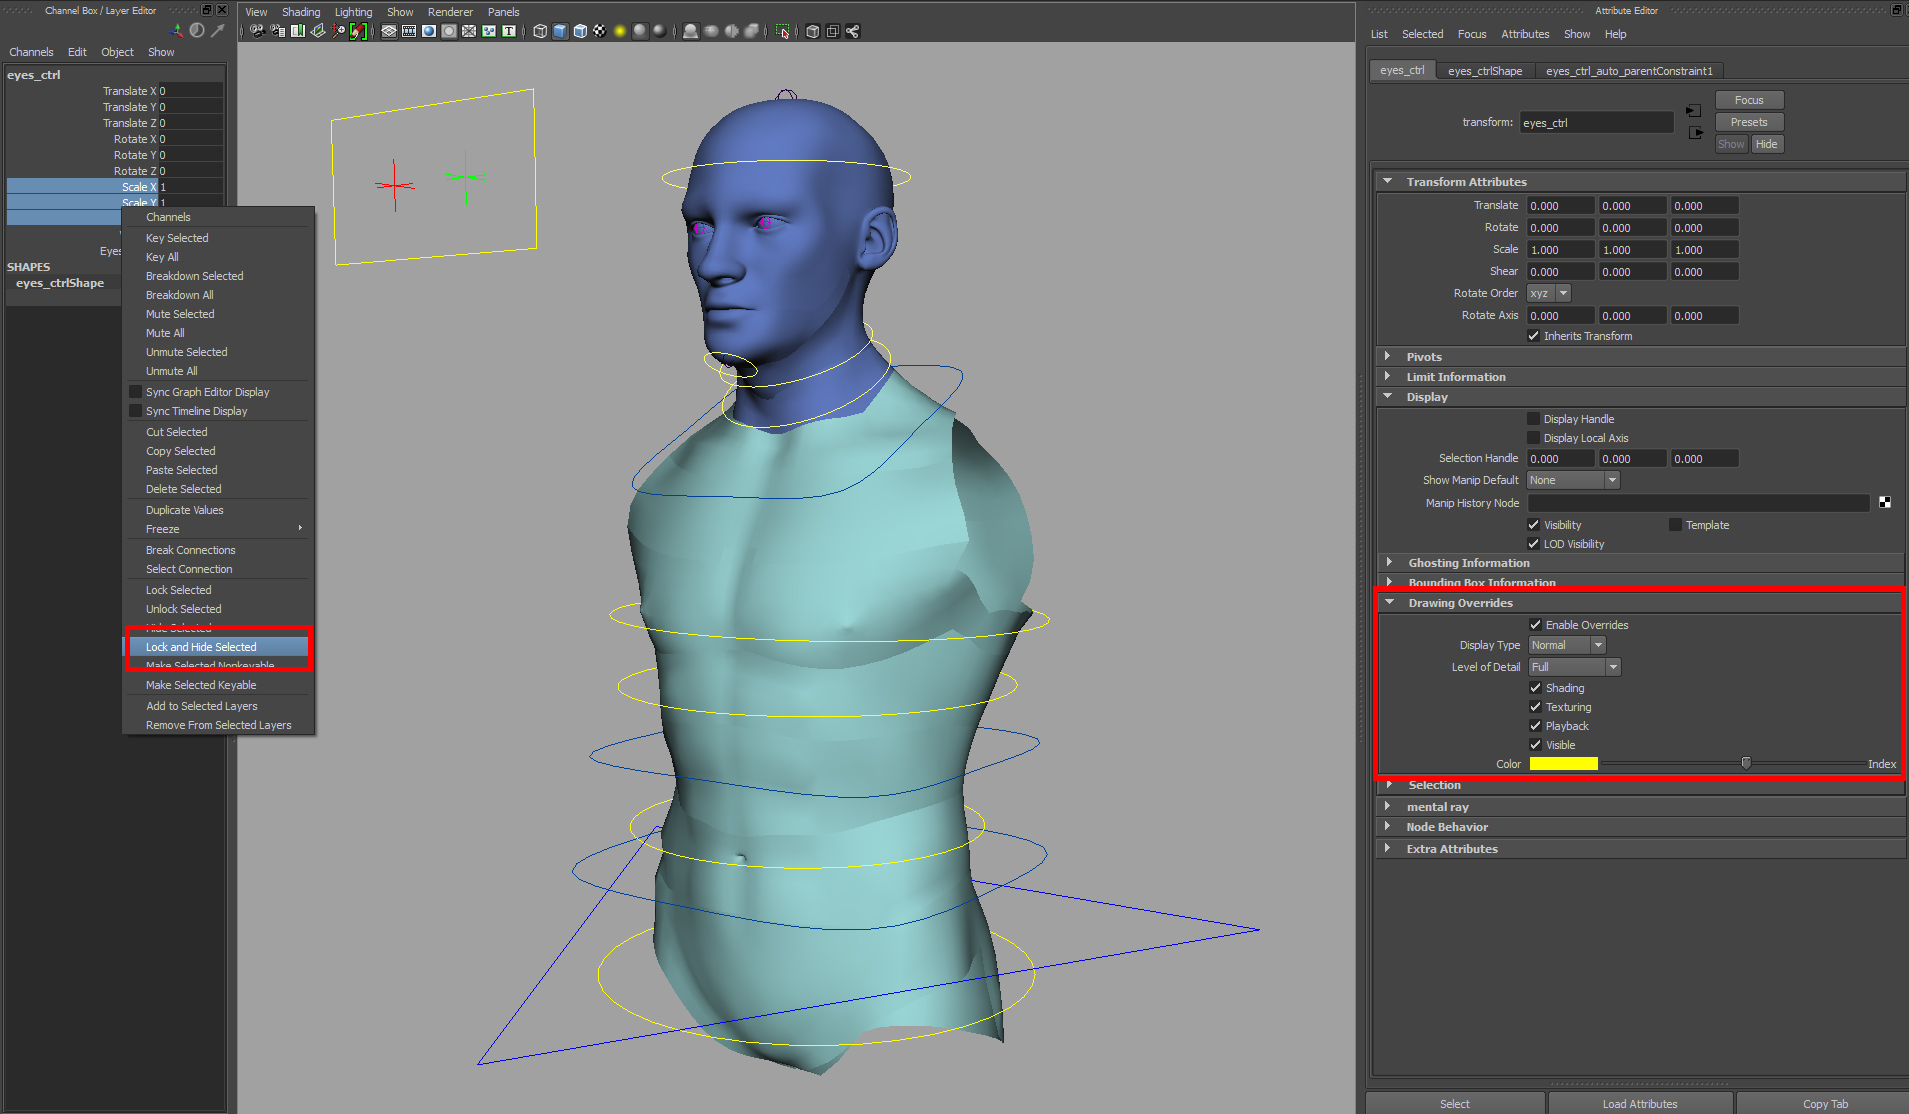
008. Cleaning up the head rig
Finally, we come to cleaning up the nexk and head rig. This will include organising our hierarchy and naming our nodes.
Tip 001. Get feedback from animators
As you progress through the rigging process, try and get feedback from the animators. As we are creating this rig in stages, it would be very easy to pass each ‘chunk’ of the rig to the animator and say “Hey bud. Take this for a spin and see what you think”. The earlier you can get feedback on what is working and what aint, the earlier you can make those necessary changes.
- Assignment
For this lesson, we’d like you to download the provided video under Resources and submit the video to the Shotgun playlist using the button below.
Join the discussion
Leave a Comment Cancel Reply
Progress


Good morning, My girlfriend has given me this course: shooting-hdris-and-panoramas, and has forwarded the link to access it, my email, but the truth is that I can not find it or do not access it.
Hi ManucasaVFX,
You’ll be able to access the course using the account details used when purchasing the course (email, password).
https://caveacademy.com/courses/shooting-hdris-and-panoramas-1001/
Did she purchase the course for herself and is now giving you access to it? If so, that is a bit cheeky, and you should instead purchase the course for yourself. Or did she purchase the course for you?
Thanks
J