
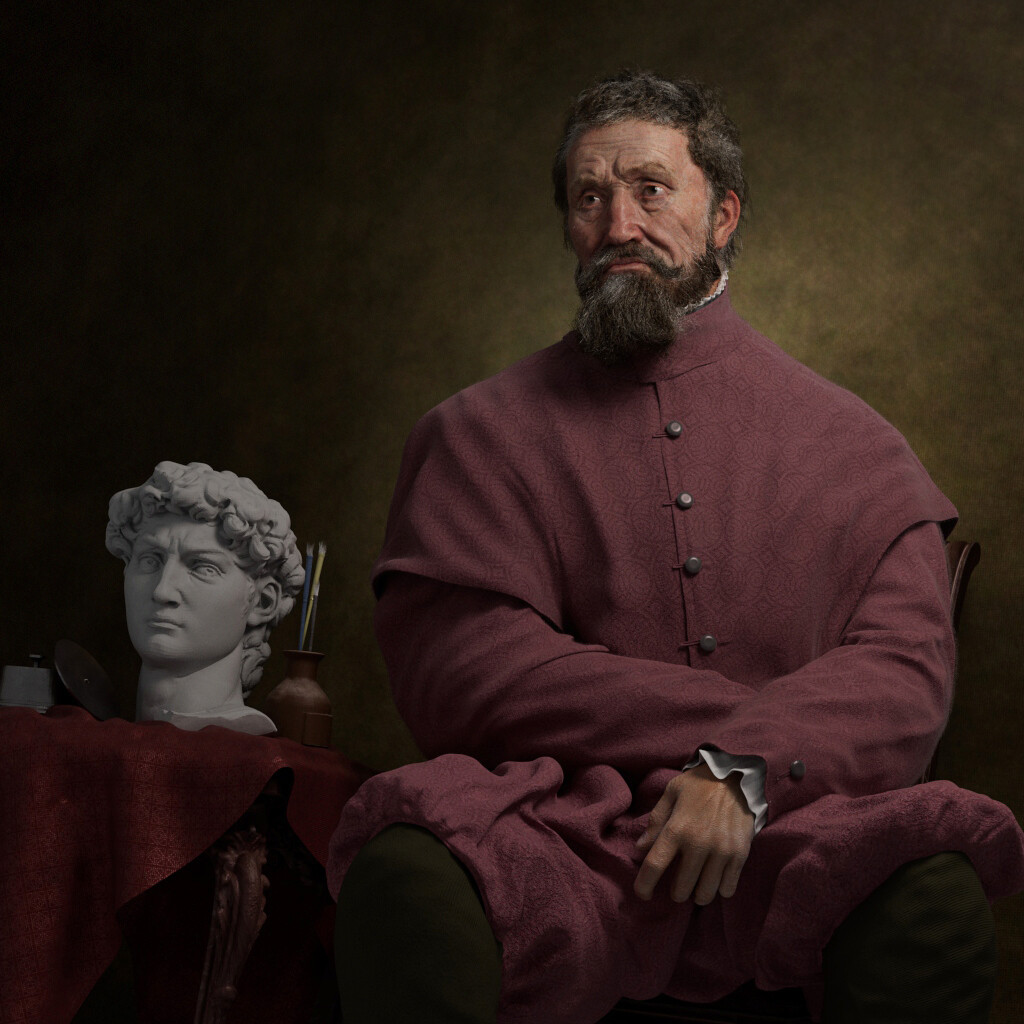
Creating Realistic Digital Portraits
Guest Speaker: Vahid Ahmadi
A recorded session is not yet available. Please check back later.
Abstract
CAVE Academy and VES London are extremely excited to have Vahid Ahmadi join us for this session, where Vahid will run us through his process and workflow for creating realistic digital portraits.
Vahid Ibrahiim
Vahid is a 3D Character Artist specialising in digital humans. To find out more about his work, check out his porfolio here.


Notes
It was a cracker of a session, however, the Zoom session was not recorded due to a technical glitch, so we’ll be looking to run another session with Vahid at some stage. In the meantime, here are the notes from the session:
Reference
When it comes to references, you should collect as much as possible, however, you need to be breaking the reference down. Analyse the forms, the structure, the relationships between the forms. As you work, update your reference every few days, so you can extract more information about the person you are trying to create. Use grid lines and draw over your reference to become more acquainted with your subject. You can also take your base mesh into an application such as Photoshop and photomontage, or sketch or liquify the image to see what works and what does not work.

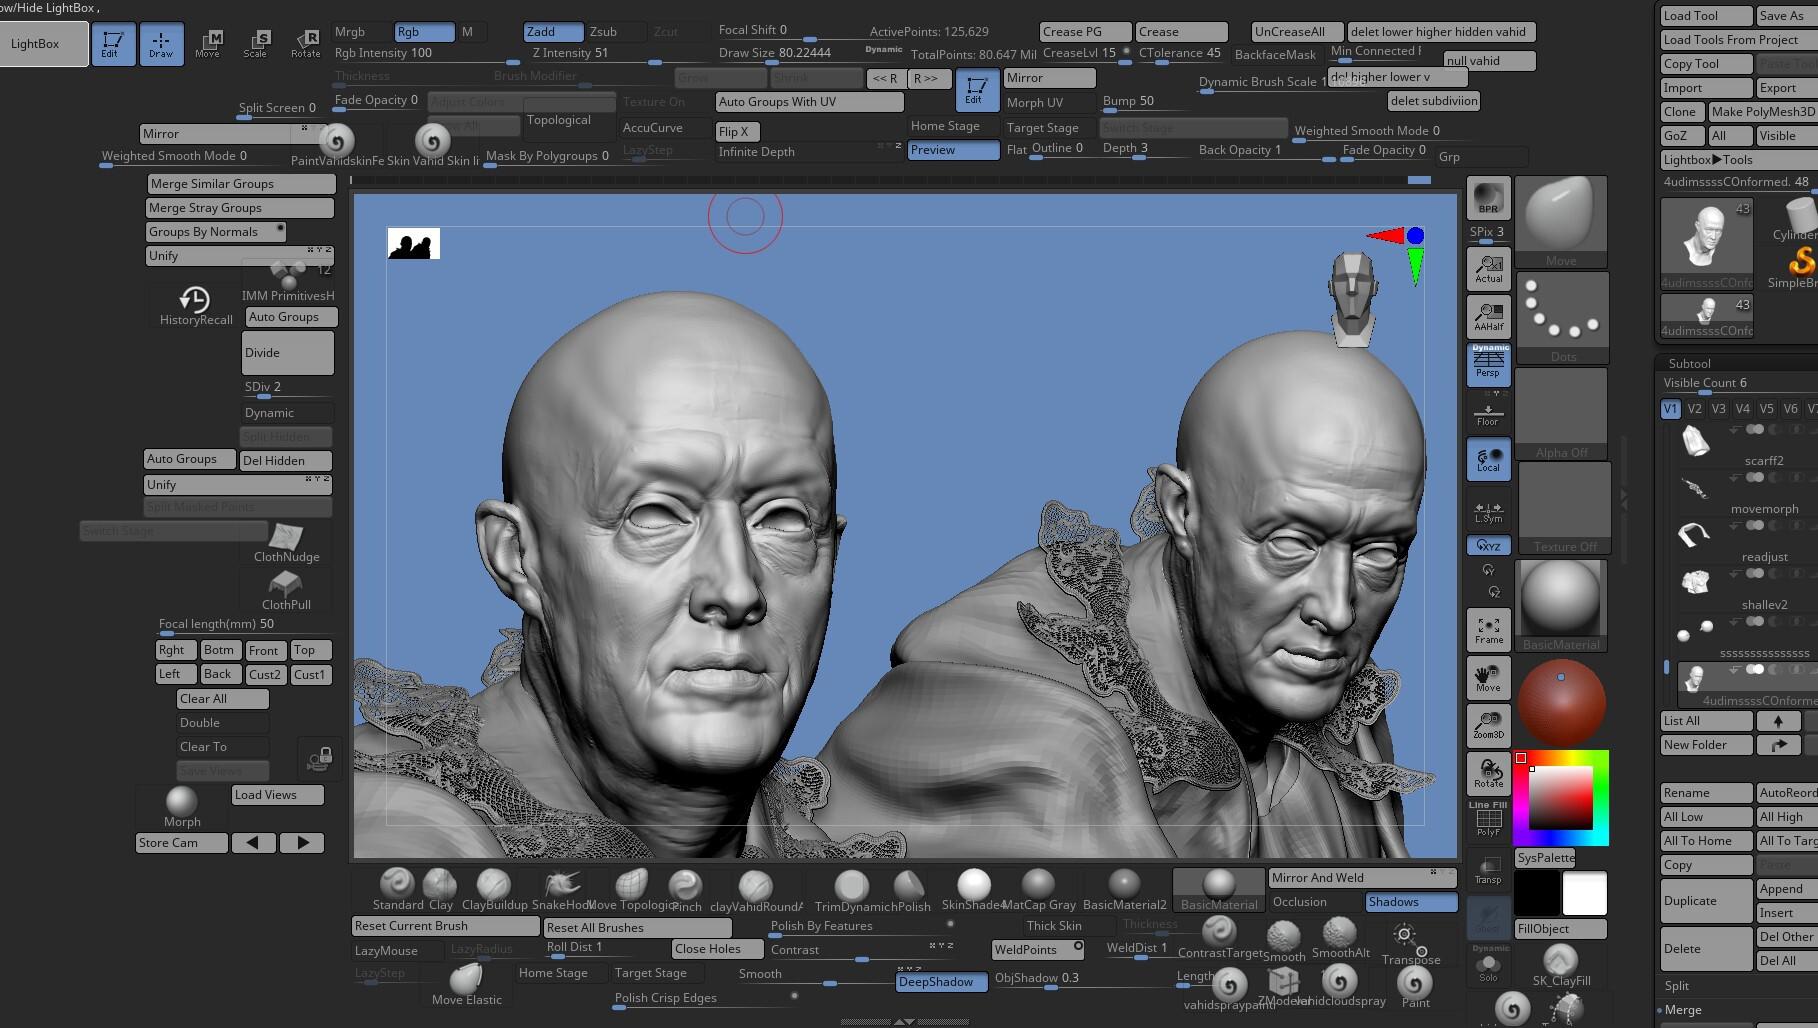
Modelling
The most important part of creating a realistic portrait is getting the basic structure, proportions and anatomy correct. The following online resources are extremely helpful in the study of anatomy to support you in doing so:
And here are a list of books that are also fantastic when it comes to anatomy:
You can also check out other sources such as plastic surgery reference on YouTube.
Texturing
For Texturing, you can use sources from 3d Scan Store and Texture XYZ to give you a good starting point. From the base texture, you can then build upon the albedo map (or simply start from scratch). Experiment with UDIMs but I find setting the number of UDIMs for the head to 4 and then painting 16K maps does the trick nicely for a high res render. Substance Painter and Mari and great for projecting additional detail and Zbrush for adding high resolution details such as pores and wrinkles.

Lighting and Look Development
I use a combination of the CAVE Academy look dev and lighting products. The 360 setups are great for look development and the HDRI light maps and environment scenes for lighting. These combined with some custom built environment elements and lights usually does the trick.

The key is to try and base your digital lighting and look dev to what would happen in a real-world situation. Think about how a lighter would light a person. What story are they trying to tell or what characteristics do they want to enforce through lighting? Look at the work of traditional painters, photographers and directors, such as Ingmar Bergman, and try to break down how they achieved some powerful images. Here are a few resources to help you better understand lighting:
- https://www.youtube.com/c/Adorama
- https://www.youtube.com/c/DanielNortonPhotographer
- https://www.instagram.com/gemmy.woudbinnendijk

Our Sponsor
Many thanks to VES London for supporting the CAVE Masterclasses. For more information on the VES and the fantastic work they do, make sure to check out their websites:
