
Search the wiki
Creating 360 Model Turntable Viewport Renders

Introduction
When submitting your asset (geometry) for review, we’ll also expect to see the following viewables:
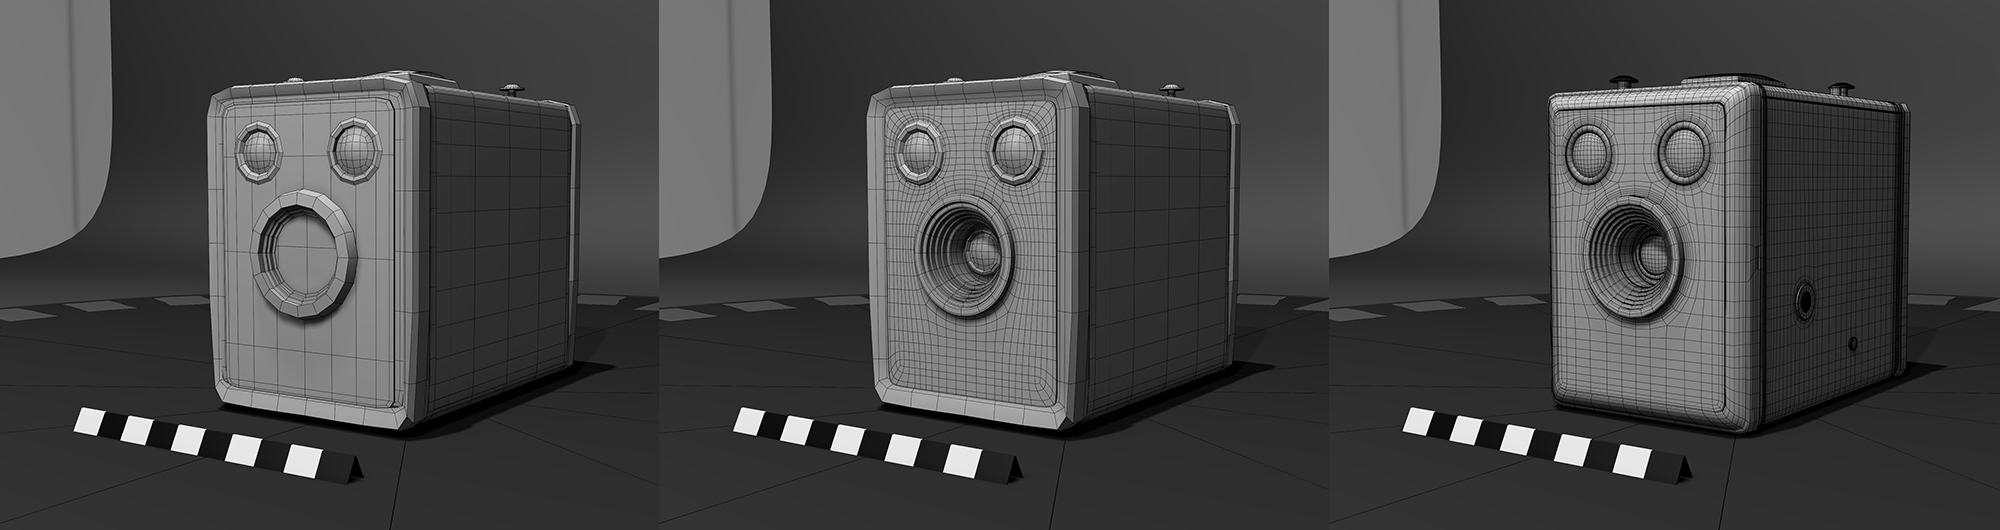
- A shaded 360 turntable with reference and slate info
- A wireframe 360 turntable with reference and slate info
- Lined up reference images (if working from photography or scan data)
In this walkthrough, we’ll run through #1 and #2, and in the following tutorial, we’ll cover #3. To keep things nice and snappy at this stage, we won’t be rendering our turntables. Instead, we’ll be generating playblasts from the viewport with a fixed lighting setup.
For all 3 submissions, the aim is that your supe can easily assess your work as you version up from one submission to the next. To do that, it is very important that:
- We lock cameras down from v001 and use the same cameras for each version of work we submit for review
- We lock the contact sheet down, so again, things are consistent and locked down.
- We do not modify the lighting.
In order to get relevant and consistent feedback, we don’t want to confuse the supervisors by using different cameras, lenses, lighting, or anything else. A supe will want to A/B between the versions, so the simpler we can make the review process, the better.
In this example, we’ll be using the Maya Prop Studio Viewport Template 1001, however, the workflow is the same for characters, vehicles, creatures, etc. If you have enrolled on a specific course at CAVE that requires the setup below, then you’ll be provided with the scene file under the course ‘Resources‘. If you are not enrolled on a CAVE course, fear not, you can pick up the setup here:
Overview
The setup includes:
- A prop studio created with basic geometry
- A fixed set of lights.
- A modelled turntable that is set to turn 360 degrees over 200 frames.
- A Nuke template for the contact sheet.
Maya Setup
To get things going:
- Make sure you are at frame 1.
- Import your asset and parent it under the locator called: ‘modelTT_360_200frame_LOC‘.
- Then apply the ‘clay_grey_viewport_MAT‘ to your asset.
- Add a number of cameras to best frame your asset and then lock these cameras down (as you should now use these for all future renders and asset updates).
- Lastly, add your asset to the ‘model_wireframe_LYR‘ display layer.
You should now be able to switch between shaded and wireframe on shaded, and only your asset should pick up the wireframe.
Nuke Template and Deliverables
With your playblasts good to go, you can now drop things into the Nuke template. This will allow you to add info to the first frame (the slate) and then export out mp4 files for submitting to Dailies. Remember – keep things consistent, so once the template has been A-OKayed by your supe, then use it without making changes (other than the updates to your model).
Examples
Further Reading
- Creating 360 Model Lineup Viewport Renders – In this doc, we’ll run through the steps of creating shaded, wireframe and backplate 360 model viewport renders (playblasts).
Support CAVE Academy
Here at CAVE Academy the beauty of giving and sharing is very close to our hearts. With that spirit, we gladly provide Masterclasses, Dailies, the Wiki, and many high-quality assets free of charge. To enable the team to create and release more free content, you can support us here: Support CAVE Academy