Search the wiki
Tips for Creating a Demoreel
Introduction
We launched CAVE Dailies back in June 2020 and in that time, we’ve had some of the world’s leading artists, VFX supervisors and recruiters from companies such as ILM, Framestore and DNEG join us to review both student and professional work. During each session, I’ve always got a pen and paper at the ready to take notes, as although it is not my work being reviewed, all the nuggets of gold that they share are usually relevant to all reels. So, here is a compilation of some of the notes I’ve gathered and hopefully, it will help you when creating your reels too.
I’ll break it down from how to start a reel to how to end a reel, so you get a clear sense of a structure in the design process. But do remember, you still need your reel to stand out, so don’t forget to add your own personality into the mix.
Opening Title Card
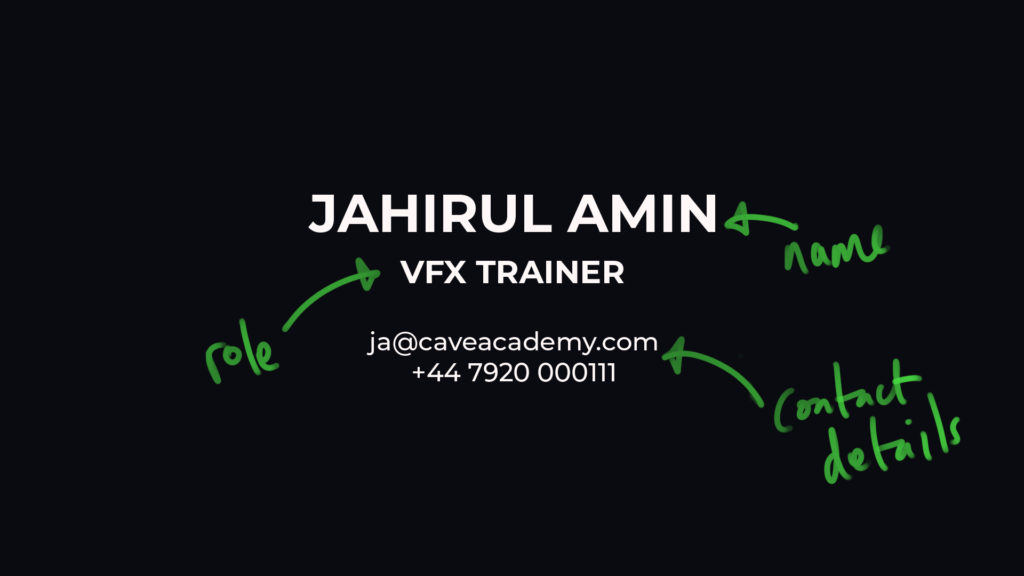
For many companies, reels and CVs will be flying through their inbox on a regular basis, so the first thing you need to do is be remembered. To do this, they’ll need to know your name, your role and how to get in touch with you. I’ve seen many reels where the contact details are at the end of the reel, or the role that they are applying for is not added at all. This makes it difficult for reviewers to connect with you from the offset as they do not know who you are or in what context they should be reviewing your work.
Keep your opening title card clear and include the following information:
- Name
- Role
- Telephone number
That’s it. Is does not have to include any additional info, such as: “Open to opportunities” or “Willing to move”. Keep it simple. Keep it direct and to the point. Your name will let them know whose work they are looking at. Your role will inform them of the position you are applying for and your email and telephone number will allow them to call you if they like your work. Try to avoid complex fonts too that make it difficult to read your details. I’ve said it once already, but I’ll say it again: KEEP IT SIMPLE!

Also – here is a little tip that was shared by Matt Twyford (Head of 2D from Framestore):
Don’t fade into your opening title card from black, or fade out to black on the outro title card. Always keep your name and details visible. Let them be the first and last thing that they see.
And one final note to add when it comes to your contact details. It’s a good idea to have your name visible throughout your reel. For example, in the bottom-right corner. That way, when they are looking through the main body of your reel, they’ll always know that it is your reel.

Tell a Story
So now we get to the meat and potatoes of your reel. At this stage, whoever is reviewing your work should know who you are, what you do and how to contact you. Now, all you have to do is ‘wow’ them!
And how can you do this? By telling a story. This tip has been repeated by recruiters, such as Leanne Loughran and VFX supervisors such as Hayden Jones (both from ILM).
Everyone and everything that is and ever was has a history. So, use story to entertain, to inform and to leave a memory on those reviewing your work. We are drawn to stories. We remember great tales. We tell others of great stories we hear. Stories stay with us. They hit us on an emotional level.
Now you may be thinking: “I’ve created a texture and look dev reel. How do I tell a story with that?”. And that is a good question.
When it comes to story in your reel, it should come through in your work itself. As in, if you are texturing and look devving assets (for example a Kodak Box Brownie Camera), then add some wear and tear. But don’t add wear and tear everywhere. You want to make it feel believable, so you’ll need to do your research. You will need to think about the history of the asset. Ask yourself questions like: “How was it handled?”, “Was it ever dropped?”, “How long has it been sitting on the shelf?”, “How old is the camera?”. As you start to think about the history of the object, the story should write itself.

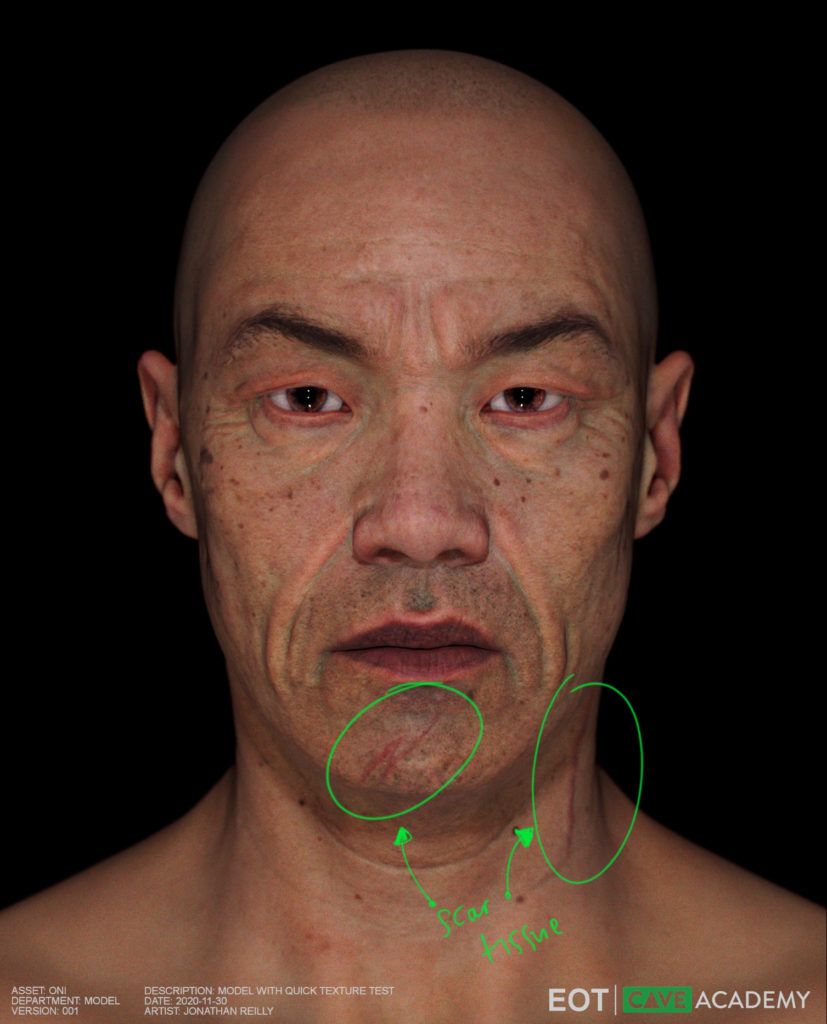
It’s the same for giving your modelling reel a story. For example, say you are modelling a warrior. Instead of creating a generic looking character where all you’ve done is spent time pushing vertices around, do some research and give your character a history. Think about where they grew up, what their training was to be a warrior, what injuries they sustained in previous battles, what weapons they use, what relationships do they have with others. The list goes on and in doing so, again, the character should write itself and tell a story.

Breakdowns
Although I’ve listed ‘Breakdowns’ under ‘Tell a Story’, it’s usually a good idea to present a breakdown as you present each project on your reel. So the format could go something like this: model turntable (Tell a Story) followed by wireframe renders, UVs, etc (Breakdowns). And it is extremely useful to present reference alongside your work.
For a standard model review in a VFX production, you’ll usually deliver the shaded and wireframe render (alongside reference photos, ideally match to aligned cameras) and then a series of reference images, shaded, wireframe on shaded and wireframe. This allows your supervisor to easily assess how close your asset maatches the reference.
When it comes to VFX, they’ll be occasions where you create fantasy characters, creatures and environments from concept art, but for the most part, you’ll be expected to present real-world reference and you’ll need to demonstrate that you are able match this reference or show how it has influenced your work.

One comment that came up often and was repeated by Jim Brown of DNEG, was that if your reel includes any group projects (including studio work), you’ll want to add clarity to your role and your task on the project.
For example, were you responsible for the lighting? or for the compositing? or both? A simple sentence on the shot will allow the reviewer to get a clear understanding of your contribution to the project.
It’s also a nice gesture to credit those that you collaborated with on personal projects. By name-dropping those that have helped you, you are showing that you are a good team player and respectful of the work that others have done on your project, and hopefully they’ll do the same to you.
When you are applying to studios, an ideal situation for them would be that you are savvy with the software that they use internally, so you can crack on with the job from the offset. So it can also be useful to present what software you used for each project on your reel.

Lastly, before releasing your reel, make sure to check every word and sentence. Use an online spellchecker, or Word or anything else available to ensure that you’ve dotted all the i’s and crossed all the t’s. At all stages of your reel, you want to show that you are competent and reliable. Do not rush to release your reel before checking it thoroughly.
Outro Title Card
Your outro card should be similar to your intro card. Again keep it simple, avoid fading in and out to black. Make sure your name, role and contact details are easily readable.

Overview
Here is a quick summary of the above notes, and again, do not take these as the only way to do things. The above notes are merely suggestions based on a years’ worth of feedback from some of the visual effects industry’s finest
- Keep it simple.
- Make sure your name, role and contact details are clearly presented in both the intro and outro title card.
- Add story to your work.
- Reference is key.
- Create context to your work.
- Present breakdowns of your work.
- Have your name visible throughout your reel.
- Clearly label your work with your contribution to group projects.
- Add software details.
- Check your spelling and grammar.
Some tips from Senior Recruiter, Leanne Loughran of ILM:

And if anyone has any additional tips, thoughts or questions, then drop them into the comments.
Support CAVE Academy
Here at CAVE Academy the beauty of giving and sharing is very close to our hearts. With that spirit, we gladly provide Masterclasses, Dailies, the Wiki, and many high-quality assets free of charge. To enable the team to create and release more free content, you can support us here: Support CAVE Academy

