Search the wiki
Browse the wiki
- New Starters
- CAVE Pathways
- CAVE Projects
- General
- Becoming a Better Artist
- Becoming a Better Artist #1001: Observation. Analysis. Practice.
- Becoming a Better Artist #1002: It ALWAYS seems impossible until it’s done
- Becoming a Better Artist #1003: Find the Time, Make an Effort, Do it Again
- Becoming a Better Artist #1004: Get Some Rest
- Becoming a Better Artist #1005: Engage your Brain
- Becoming a Better Artist #1006: Set your Boundaries
- Becoming a Better Artist #1007: Get Out and Get Muddy
- Published File Naming Conventions
- CG Terminology
- Department Naming Conventions
- Recording Video and Audio for Tutorials
- Becoming a Better Artist
- Onset
- Data Acquisition
- Data Acquisition Training
- How Onset Data Acquisition fits into the VFX Pipeline and the Kit
- The Grey, the Chrome and the Colour Chart
- What Onset Data to Capture for Assets
- Shooting a HDRI Onset for CG Lighting
- Shooting a Panorama
- Shooting Texture and Look Development Reference
- Shooting Lens Grids
- Shooting Grain Reference
- Introduction to F-Stop
- Shooting Plates for VFX
- Data Acquisition Guidelines
- Data Acquisition Training
- Mocap
- Data Processing
- Data Acquisition
- Post-Production: Assets
- Assets – General
- Modelling
- Surfacing
- Look Development Workflow using Light Kit 1003
- Look Dev Workflow, the 1003 Studio Space, and the Importance of Calibration
- Working with the Material Development Light Rig 1003
- Working with the Prop Light Rig 1003
- COMING SOON! Working with the Character Light Rig 1003
- COMING SOON! Working with the 360 Light Rig 1003
- COMING SOON! Working with the Vehicle Light Rig 1003
- COMING SOON! Testing your Look Development in a Shot Context
- Material Naming Conventions
- Library Materials – Generic
- Surfacing Training
- Creating a Neutral Look Development Environment
- Customising the Maya Studio Look Dev and Lighting Environment 1003
- How to Use the Character Look Development and Lighting Rig 1003
- Setting up a PBR Metal/Roughness Shader
- Setting your Mid-Grey Value
- Skin and Eyes
- Pushing an Image for Texturing through the VFX Pipeline
- Working with the Automotive Material Pack in Unreal Engine
- Look Development Workflow using Light Kit 1003
- Rigging
- Post-Production: Shots
- Matchmove
- Animation
- Lighting
- Lighting Training
- Introduction to Light and Matter
- Introduction to Ray Depth
- Unpolarised, Polarised and Cross Polarised Photography
- How can you Speed up Asset Turntable Renders?
- How do you Smooth Geometry at Render Time?
- Rendering with Depth of Field
- Lighting Resources
- Playing with Light
- Lighting Training
- Compositing
- Pipeline
- Production
- Reference
- RND
- Software
- Support
- HBO VFX Production Coordinator Bootcamp – Stage 02 Application Form
- HBO VFX Production Coordinator Bootcamp – Stage 02 Professional Reference
Setting up RV
We’ll be using RV to primarily for playback and sometimrs for reviews. For more information on RV, check out the official docs here:
Installing RV
To install Shotgun Desktop, log in to the CAVE Academy Shotgun homepage here using your login details: https://caveacademy.shotgunstudio.com/
Then go Apps > RV Desktop Media Player
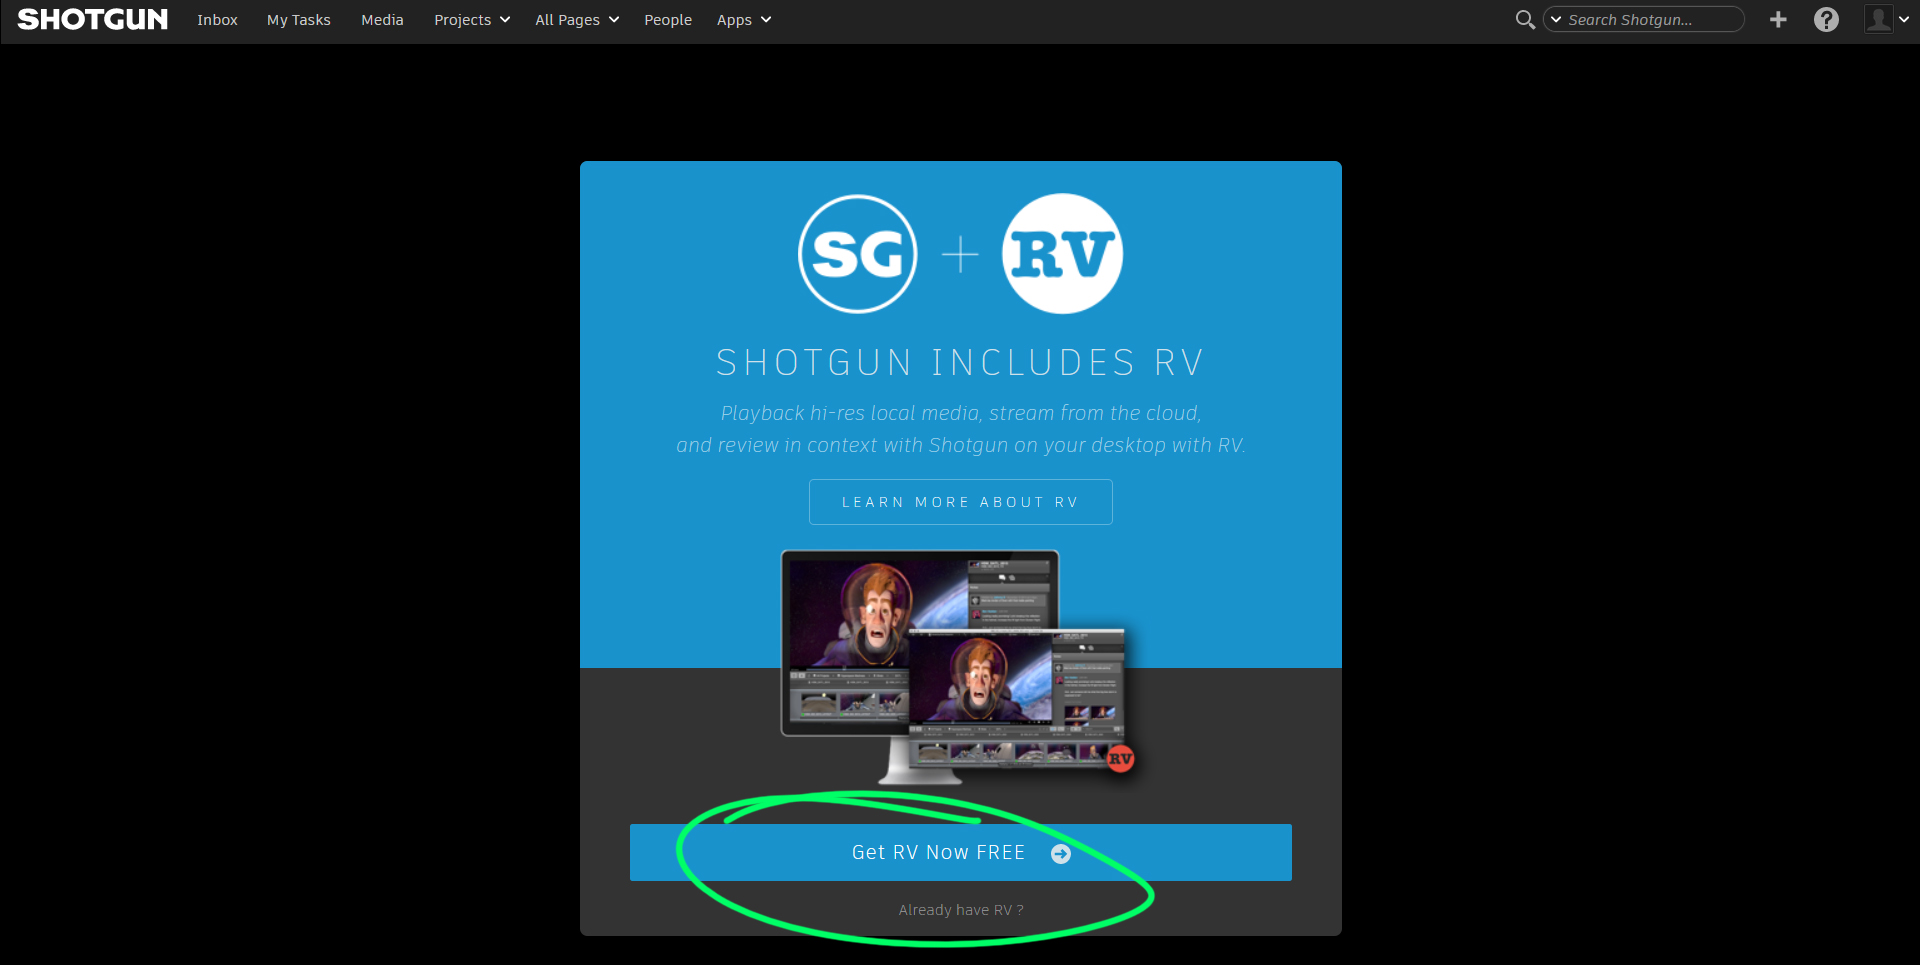
This will take you to to the following webpage, where after agreeing to the terms and conditions, you’ll be able to download an install package for your OS.
Once downloaded, go through the usual steps to install an application.
You should then find Shotgun available in your list of applications.
Launch RV and you’ll be presented with the following screen asking for your site name. Past in the following path:
https://caveacademy.shotgunstudio.com/
…and then log in using your usual credentials when prompted.
With RV up and running, you should now be able to drop images or videos into the player to view and review them.
Moving On
- Using RV at CAVE Academy


